Monday, February 14, 2011

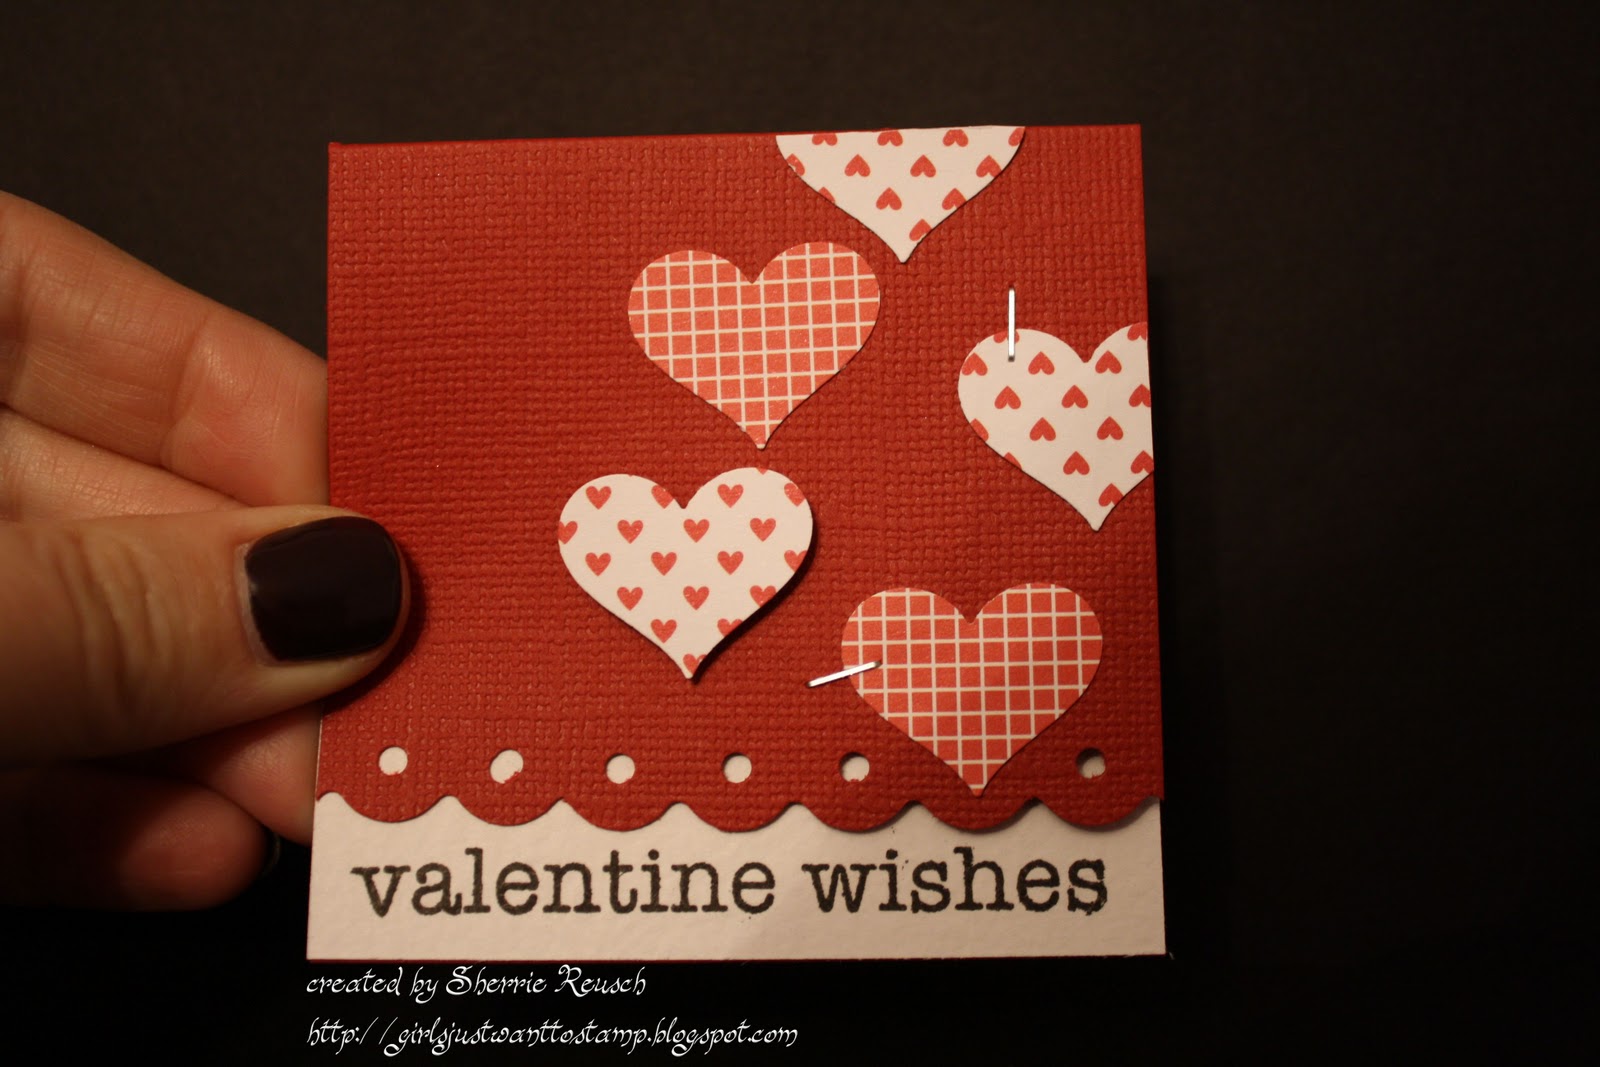
Valentine's Candy Bar Wrapper

 Supplies:  MFT Stamps and die-namic (My Favorite Things), Martha Stewart Holidays DSP, SU! Naturals Ivory CS, SU! Real Red ink, heart and key locket from Oriental Trading Company, sticky tape, hole punch, ribbon (not sure), chocolate bar
I bought this chocolate bar for my chocolate lover this Valentine's Day (bottom photo).  I made a handmade wrapper for this bar, and the result is pictured in the top photo.  My husband loves dark chocolate, and he heard about a local (sorta) guy that makes artisan chocolate.  We are going to visit his chocolate store, soon - but found this bar in the meantime at Whole Foods.  I was pleased to see they carry his chocolate.  He also has a website.  It is www.askinosie.com
Hope my hubby likes this little gift!  Happy Valentine's Day, everyone!

Poem to my Son on Valentine's Day


Did you know that you

you are
Everything

Not a possession
but priceless

Dark at times
but always my light

Not faultless
but altogether perfect

Not just everything I’ve ever dreamed of
but more than I could have imagined

Continually more

~written by Sherrie Reusch

I love you, Eli!  Happy Valentine's Day!  

Saturday, February 12, 2011

Banana Bread Pudding

I made this Banana Bread Pudding today, and it was very yummy.  It is difficult to find recipes that my son will enjoy - he is extremely picky.  But, since he loves bread, bananas, and pudding, I had to try this.  He loved it, and ate two giant servings.  Here is the recipe:


Banana Bread Pudding ~Country Living
  • 8 tablespoon(s) (1 stick) butter
  • 4  bananas, sliced 1/3 inch thick
  • 6 tablespoon(s) light brown sugar
  • 2/3 cup(s) milk
  • 1 cup(s) heavy cream
  • 2  eggs
  • 1  egg yolk
  • 1/3 cup(s) granulated sugar
  • 1 tablespoon(s) granulated sugar
  • 1/8 teaspoon(s) salt
  • 1/2 teaspoon(s) fresh nutmeg
  • 1/2 teaspoon(s) cinnamon
  • 6 slice(s) firm white bread

Directions
  1. Heat oven to 325 degrees F. Butter (using 1 tablespoon) a 9-inch deep-dish pie plate and one side of a 12-inch square of aluminum foil; set aside.
  2. Cook bananas with 4 tablespoons butter in a medium skillet over medium-high heat until golden brown. Sprinkle in 2 tablespoons brown sugar and cook until sugar melts and coats bananas. Set aside.
  3. Beat the milk, cream, eggs, yolk, 1/3 cup granulated sugar, salt, nutmeg, cinnamon, and remaining 4 tablespoons brown sugar together. Brush bread with the remaining butter, cut each slice in half, and layer in the pie dish. Tuck bananas between the slices. Pour in the milk mixture. Press to absorb the liquid. Cover with foil, bake for 30 minutes, remove foil, sprinkle with the remaining tablespoon granulated sugar, and bake uncovered until golden brown, about 25 more minutes. Cool on a wire rack. Serve warm or at room temperature.

Thursday, February 10, 2011

My Swap Cards - Thoughts & Prayers

Supplies:  Stampin Up Thoughts & Prayers stamp set, Rich Razzleberry, Always Artichoke, and So Saffron cardstock, Rick Razzleberry ribbon, Always Artichoke ink, Stampin Up flower punch, jewels, dimensionals

I made 10 of these cards today!  Shwew!  Yes, it took several hours.  I am not the fastest card maker in the world!!!  The most time consuming part was punching out the flowers.  My punch kept sticking, and it took a long time to get "good flowers".  I hope the 8 participants enjoy my contribution to the swap.  My packet will go in the mail in the morning.  I can't wait to get my 8 cards to see what everyone else made!
Feel free to comment if you have questions, or if you want to leave some love!

Punch Potpourri Valentine Card

I made this card over at Jeri's house Friday night.  She designed the layout and we used the Stampin Up Punch Potpourri stamp set.  The heart was embossed in black, and then I colored the flowers using Stampin Up markers.  Enjoy!

Monday, February 7, 2011

Pedaling Past with Retro Background


I designed the above card (top), and my inspiration was this vintage poster.  I like the colors on the poster better, but I didn't have the exact match in my paper stash.
I used the Stampin Up Pedaling Past stamp set.  I stamped on vanilla cardstock, using black ink.  I framed in black paper.  I used the corner punch on 2 of the corners.  I colored the bike with the Tangerine Tango and Black Marker.
For the background paper I used the 1" Circle Punch on Tangerine Tango and Baja Breeze Paper.  I cut each circle in half.  I scored the ivory card so there would be 15 squares.  I placed each circle in a square to resemble the vintage tile.  I used dimensionals to adhere the bike image in the center of the card.
I hope you enjoy my vintage creation.  If so, please leave me a comment!


Friday, January 28, 2011

Valentine's Candy Jar - Tart & Tangy


Supplies:  Jar from Crate & Barrel, Stampin Up Ribbon, Stampin Up Red and White Paper, Sentiment printed on home computer, Stampin Up Tart & Tangy Stamp Set, Circle Punch, Stampin Up Yoyo Yellow Ink and Glitter, Stampin Up Sparkle Brad, Quickutz Heart, Glue Dots, Lemon Candy

I made this little candy jar this afternoon.  It is a Valentine for one of my friends - I hope she likes it!  These cute little glass jars are from Crate & Barrel.  I purchased this one at Christmas - hopefully they still carry them.  This would have been cute if I would have inked the white banner around the edges in red, but didn't think of that until it was too late.

Enjoy - and please post a comment if you have a question or want to share some love!

Sunday, January 16, 2011

Archiver's Vintage Valentine Card Workshop


I took the Vintage Valentine Card Workshop at Archiver's this Wednesday.  It was a great class!  I always enjoy learning new techniques.  The new techniques I learned in this class were:  stamping on linen, torn images, and working with the McGill flower punch and tools.
If you are noticing tears in my card, no worries - they are supposed to be there!  Remember, the cards are supposed to look vintage, worn, and antique.
The cards were designed by Archiver's.  In class, we do the stamping, coloring, and assembling.  The class took between 2 and 3 hours.  The flower card took an hour - it was by far the most difficult card.  Using the punches and tools is very time consuming, but it wouldn't be if you were doing this at home, because you wouldn't have to share the tools.  I did change the ribbon design on the flower card and added my own little twist.
Enjoy, and please leave a comment if you have a question or wanna leave some love!

Saturday, January 15, 2011

Class at Archiver's Very Valentine Mini Card Workshop (part 2)


Here are the final 4 mini 3x3 cards we made at the Archiver's workshop yesterday.  Archiver's designed the cards, and we stamped, colored, and assembled the cards.  The handmade rose card took about an hour.  At home, I think I could make one in 30 minutes, but we had 4 ladies that had to share the McGill flower punch and tools to make the flower.  So, that added some time to the class.  The other 3 cards were not as time consuming.  I really enjoyed making the rose.  It was tedious and time consuming, but not difficult.  I haven't decided if I will invest in the McGill flower items for home.  How many flowers like this would I make?  :-)  The card would be difficult to mail.  If I do send through the mail, I will wrap it in foam, and place in a bubble envelope.  I also love the 24-7 card.  The tickets pull out of the little envelope - so cute!
Enjoy!

Friday, January 14, 2011

Class at Archiver's - Very Valentine Mini Card Workshop (part 1)


I took a class at Archiver's today!  The class was the Very Valentine Mini Card Workshop.  It was wonderful!  Out of all the classes I've taken at Archiver's, this is my fave so far.  Not necessarily because of the content, but because our teacher was so patient and helpful.  It makes a big difference.  We made 9 mini 3x3 cards.  I am showing 5 of the cards today, and I'll post the remaining 4 tomorrow (or soon).  All cards were designed by Archiver's and I assembled and made the cards during class time.  These little guys were pretty time consuming.  We spent 4 hours making 9 mini cards (mostly due to a very detailed handmade flower you will see on my next post).
My favorite from this batch is the umbrella card.  I think it's quirky and romantic - and love the white boots!  I bought this stamp set, so I could make more at home. Unfortunately, they do not have any more of the heart paper.  So I purchased some polka dot paper - hopefully it will look similar.
Enjoy!