Showing posts with label Valentine's Day Cards. Show all posts

Friday, January 20, 2012

Valentines Card using Loving Impressions Paper

Supplies:  Stamp Set, "Loving Thoughts" by SU; Paper, Crumb Cake, Real Red, Loving Impressions DSP, Red Glitter Paper, White; Ink, Black; Ribbon, SU Organza; White Uni-ball Pen; Embosslits, "Fashionable Hearts"; Postage Stamp Punch by SU

I made 9 of these cards tonight (and yesterday) for the card swap I'm attending tomorrow.  Our assignment was to use the layout on page 20 from Stampin Success Magazine.  You can use any paper you have in your stash, it doesn't have to be Valentine Paper.  I hope you enjoy my card.

Thursday, February 10, 2011

Punch Potpourri Valentine Card

I made this card over at Jeri's house Friday night.  She designed the layout and we used the Stampin Up Punch Potpourri stamp set.  The heart was embossed in black, and then I colored the flowers using Stampin Up markers.  Enjoy!

Sunday, January 16, 2011

Archiver's Vintage Valentine Card Workshop


I took the Vintage Valentine Card Workshop at Archiver's this Wednesday.  It was a great class!  I always enjoy learning new techniques.  The new techniques I learned in this class were:  stamping on linen, torn images, and working with the McGill flower punch and tools.
If you are noticing tears in my card, no worries - they are supposed to be there!  Remember, the cards are supposed to look vintage, worn, and antique.
The cards were designed by Archiver's.  In class, we do the stamping, coloring, and assembling.  The class took between 2 and 3 hours.  The flower card took an hour - it was by far the most difficult card.  Using the punches and tools is very time consuming, but it wouldn't be if you were doing this at home, because you wouldn't have to share the tools.  I did change the ribbon design on the flower card and added my own little twist.
Enjoy, and please leave a comment if you have a question or wanna leave some love!

Saturday, January 15, 2011

Class at Archiver's Very Valentine Mini Card Workshop (part 2)


Here are the final 4 mini 3x3 cards we made at the Archiver's workshop yesterday.  Archiver's designed the cards, and we stamped, colored, and assembled the cards.  The handmade rose card took about an hour.  At home, I think I could make one in 30 minutes, but we had 4 ladies that had to share the McGill flower punch and tools to make the flower.  So, that added some time to the class.  The other 3 cards were not as time consuming.  I really enjoyed making the rose.  It was tedious and time consuming, but not difficult.  I haven't decided if I will invest in the McGill flower items for home.  How many flowers like this would I make?  :-)  The card would be difficult to mail.  If I do send through the mail, I will wrap it in foam, and place in a bubble envelope.  I also love the 24-7 card.  The tickets pull out of the little envelope - so cute!
Enjoy!

Friday, January 14, 2011

Class at Archiver's - Very Valentine Mini Card Workshop (part 1)


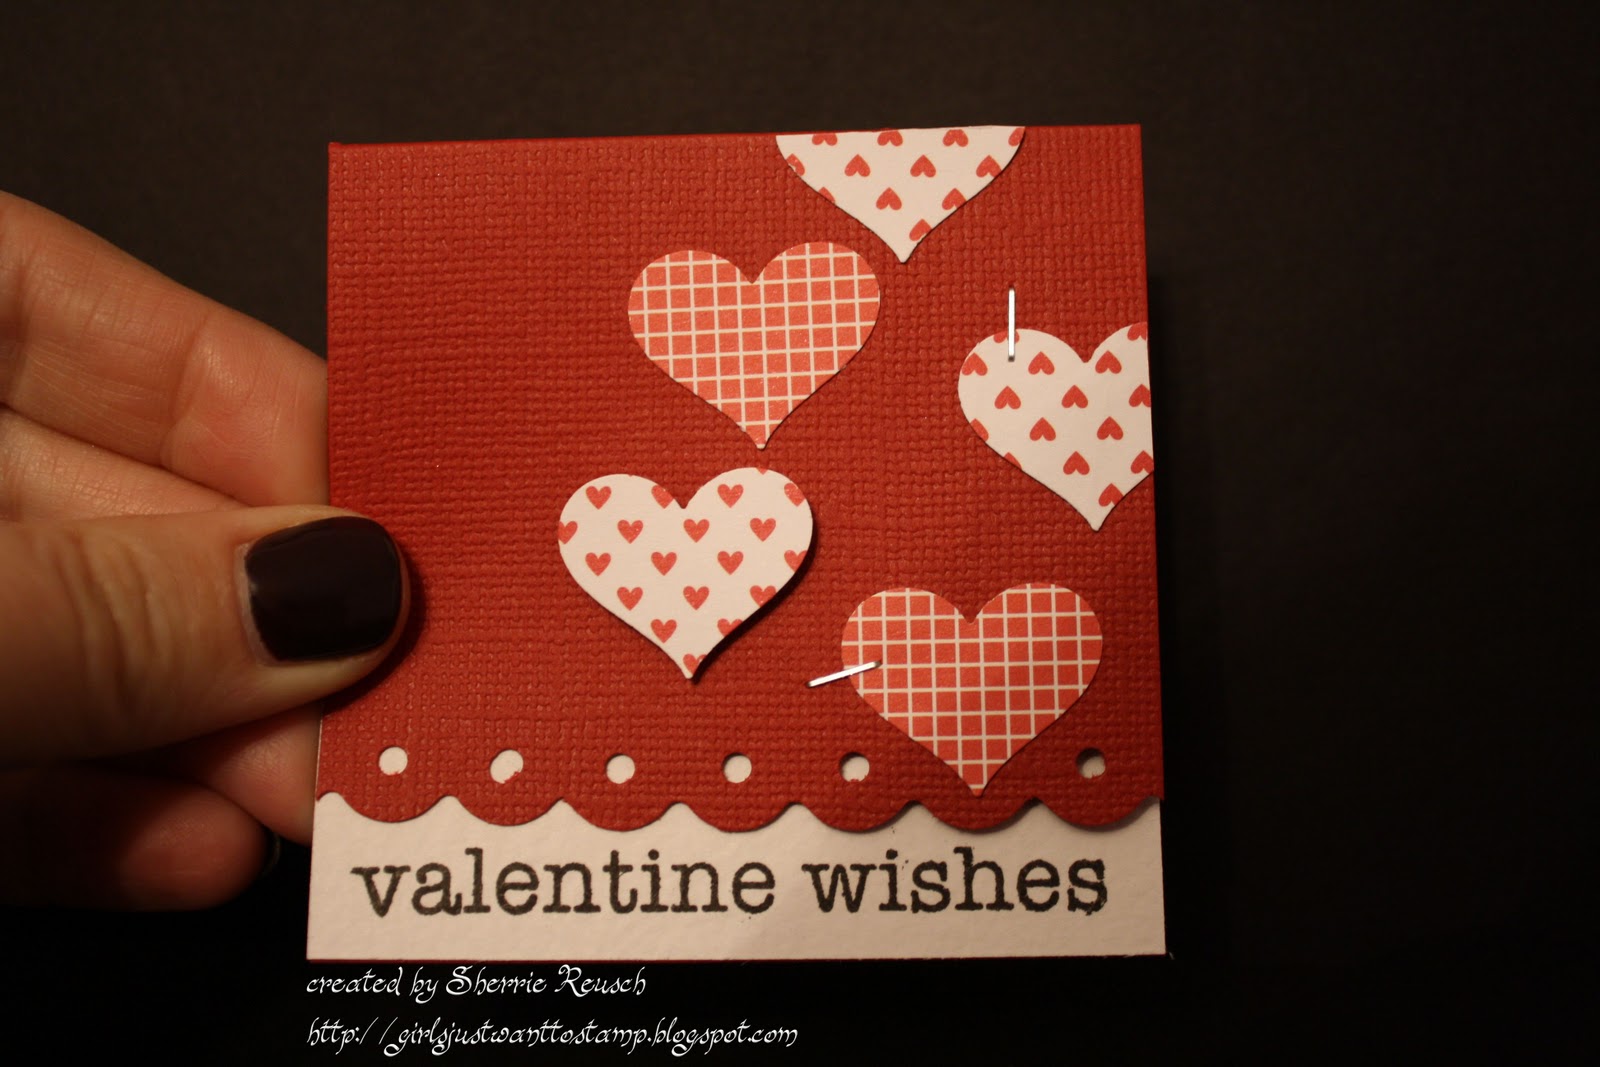
I took a class at Archiver's today!  The class was the Very Valentine Mini Card Workshop.  It was wonderful!  Out of all the classes I've taken at Archiver's, this is my fave so far.  Not necessarily because of the content, but because our teacher was so patient and helpful.  It makes a big difference.  We made 9 mini 3x3 cards.  I am showing 5 of the cards today, and I'll post the remaining 4 tomorrow (or soon).  All cards were designed by Archiver's and I assembled and made the cards during class time.  These little guys were pretty time consuming.  We spent 4 hours making 9 mini cards (mostly due to a very detailed handmade flower you will see on my next post).
My favorite from this batch is the umbrella card.  I think it's quirky and romantic - and love the white boots!  I bought this stamp set, so I could make more at home. Unfortunately, they do not have any more of the heart paper.  So I purchased some polka dot paper - hopefully it will look similar.
Enjoy!

Sunday, January 17, 2010

Hearts on Fire 2

Here is the other card I made with the Hearts on Fire stamp set. At first, I wanted to do this at a make and take - but there are way too many steps. But if you have lots of spare time - I definitely recommend the layout. It is worth the extra steps.
This card is CASED from the January 2010 issue of CardMaker. In fact - I was at the grocery store a couple weeks ago and was browsing through this issue. When I saw this card - I knew I had to buy the magazine. I went home and promptly ordered this stamp set.
Tip: If you decide to make this card - cut your fancy scallop border FIRST. Then trim down paper to size after you have your scallop edge.

Supplies
Stamp Set: Verve, Hearts on Fire
Cardstock: Petal Pink (Archivers), Black, White Linen, Grey (Bazzill)
Rhinestones: Kaiser
Other: Flowersoft in Baby Pink and glue
Ribbon: Black Ribbon from Archivers
Cuttlebug Folder: Swiss Dots
Spellbinders: Fancy Scallop Pierceability Border

Monday, January 11, 2010

My "Hearts on Fire", Baby!

I've been stamping all day. My eyes are worn out! Shwew. It all started with the card I intended to create for our upcoming make and take (not pictured). It was super, super challenging, although I did complete it. I will post it tomorrow. Although beautiful...it just has too many steps for a make and take. I surely don't want the girls to leave frustrated! So, I went back to square one and spent the afternoon dreaming of a new card, making a few sketches here and there. I came up with this! What do you think? I hope you guys like it.

Supplies:
Stamp Set: Verve "Hearts on Fire"
Ink: Black Stazon
Die Cut: Nestabilities, Fleur De Lis (One of the Christmas presents for myself, hee, hee), Oval Nesties
Cardstock: White linen, Black, Petal Pink from the Paper Company
Cuttlebug Folder and Machine (can't remember the name of the folder, and really wish they'd print the name of the folder on the folder)
Other: Flower Soft in Baby Pink and Original Tacky Glue, Dimensionals, Pink Rhinestones from Kaiser

Friday, January 8, 2010

You're So Sweet - Valentine's Day Card

Here is my first Valentine's Day Card of the year. We will be doing this at our make and take (Girl's Night Out!) Thursday night. I just LOVED the simplicity of this card. It is one of my goals to try some simple cards this year - I truly believe they can be just as stunning as some of the cards with oodles of layers - just in a different way.
I came out of hibernation for just a bit today. Ah! Actually, I wish I was joking. ;-) The temps here in Kansas are just horribly cold - and we had a blizzard. There is much snow on the ground, so we've been staying inside. Eli has been home from school for 22 days. So momma is going a little stir crazy! It is really hard to get anything done with a new puppy and a little boy. I love them dearly, though! Below the supply list, you will see what my son did to his own hair today!!! He cut it himself!!! Oh my!!! I'm soooo embarrassed. Too funny. AND - we have a game in the morning and there is no time to go to the salon before the game. So, he'll just have to play the game with a silly hairdo!
Hopefully - there will be many more Valentine's Day Cards to come. My New Year's Resolution was to clean the craft room - so I really, really, really hope this will inspire my to create waaaaaay more in 2010!!!
This is a case from page 55 of Papercrafts magazine, Jan / Feb 2010. Although I did change the sentiment, stamp set, add the liquid applique, and the bling...it really looks very, very similar. Enjoy!
Supplies
Stamp sets: (latte stamp) Shirley's 2 Girls, Cream in my Latte; (sentiment) Verve, Delightful and Delicious
Cardstock: White Linen, Real Red, Creamy Caramel
Punch: Marth Stewart Doily Lace
Ink: Black Stazon, Tim Holtz Tea Dye, Real Red Stampin Write, White Liquid Applique
Ribbon: Archiver's Black and White check
Die Cut: Scalloped Circle Nestabilities
Other: Sponge, Blender Pen, Red Bling Kaiser, Dimensionals

Eli cut his own hair today!

Me and new puppy, Lukas, ringing in the New Year.

Sunday, February 15, 2009

Flower Made From Love You Much

Here is my Valentine's Card. I cased this. But, I don't know the lady's name who designed this card...I either saw it on a blog or the SU list serve, and I failed to write her name down. So sorry! The only things I changed: I changed the ribbon, the background paper, and I embossed the ink. Her flower was straighter than mine! I had a very hard time getting the petals to stay still...so I finally just glued them down as is. Hope you have better luck if you decide to make this card. It was really fun to make. And I am still happy with my heart flower. :-)
Supplies (All Stampin Up Except the Ribbon)
Stamp Set: Love You Much
Ink: Real Red Craft and Black Craft
Paper: Very Vanilla and Red DSP (but last year's DSP), Real Red
Ribbon: Making Memories "Love Notes"...I bought at Archiver's
Other: Glue Dots, Snail Adhesive, Clear Embossing Powder, Circle Punch, Scallop Punch, Scissors, Dimensionals.
Notes: Cut 10 hearts out and fold 5 one way and 5 the other way. Make 5 complete hearts and then ensemble on the card.